Adding Fields to a Table
Buildaible offers multiple ways to add fields to a table, giving you flexibility and control to structure your app as needed. Follow the steps below for either method.
Adding Fields via Table Settings
-
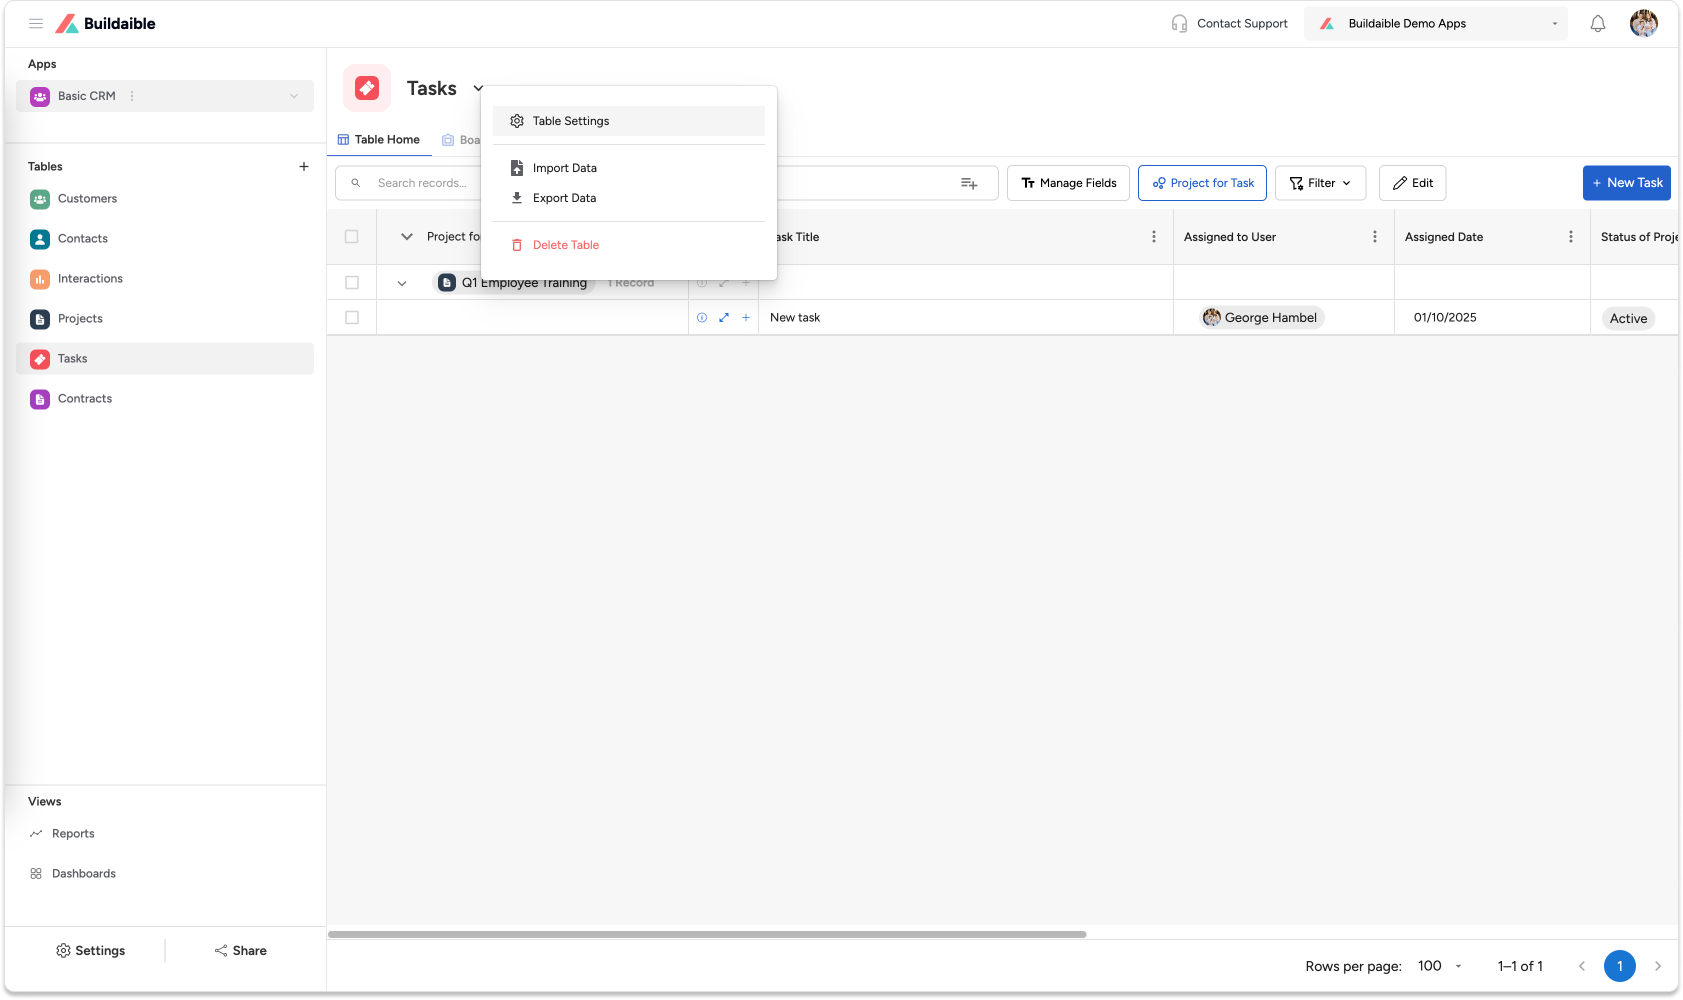
Access the Table Settings:
-
On the table, click the down arrow next to the table name, then select “Table Settings” from the dropdown menu.
-
-
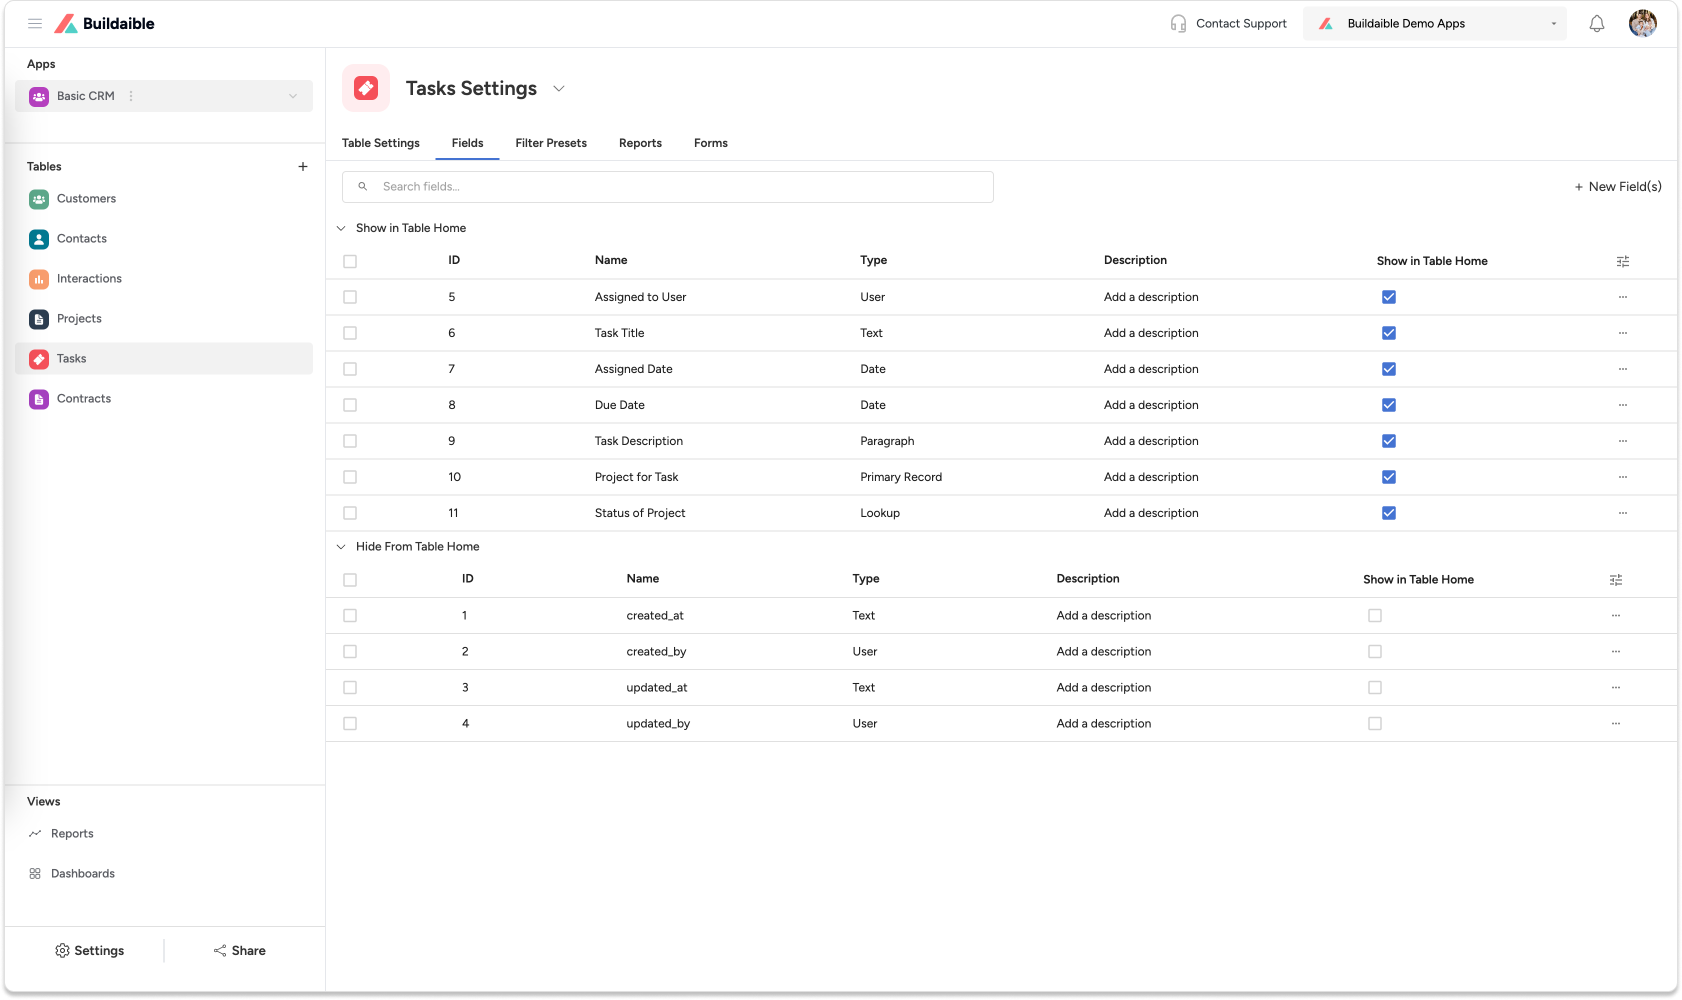
Navigate to the Fields Tab:
-
In the Table Settings screen, click the “Fields” tab.
-
Click the ”+ New Field(s)” button in the top right.
-
-
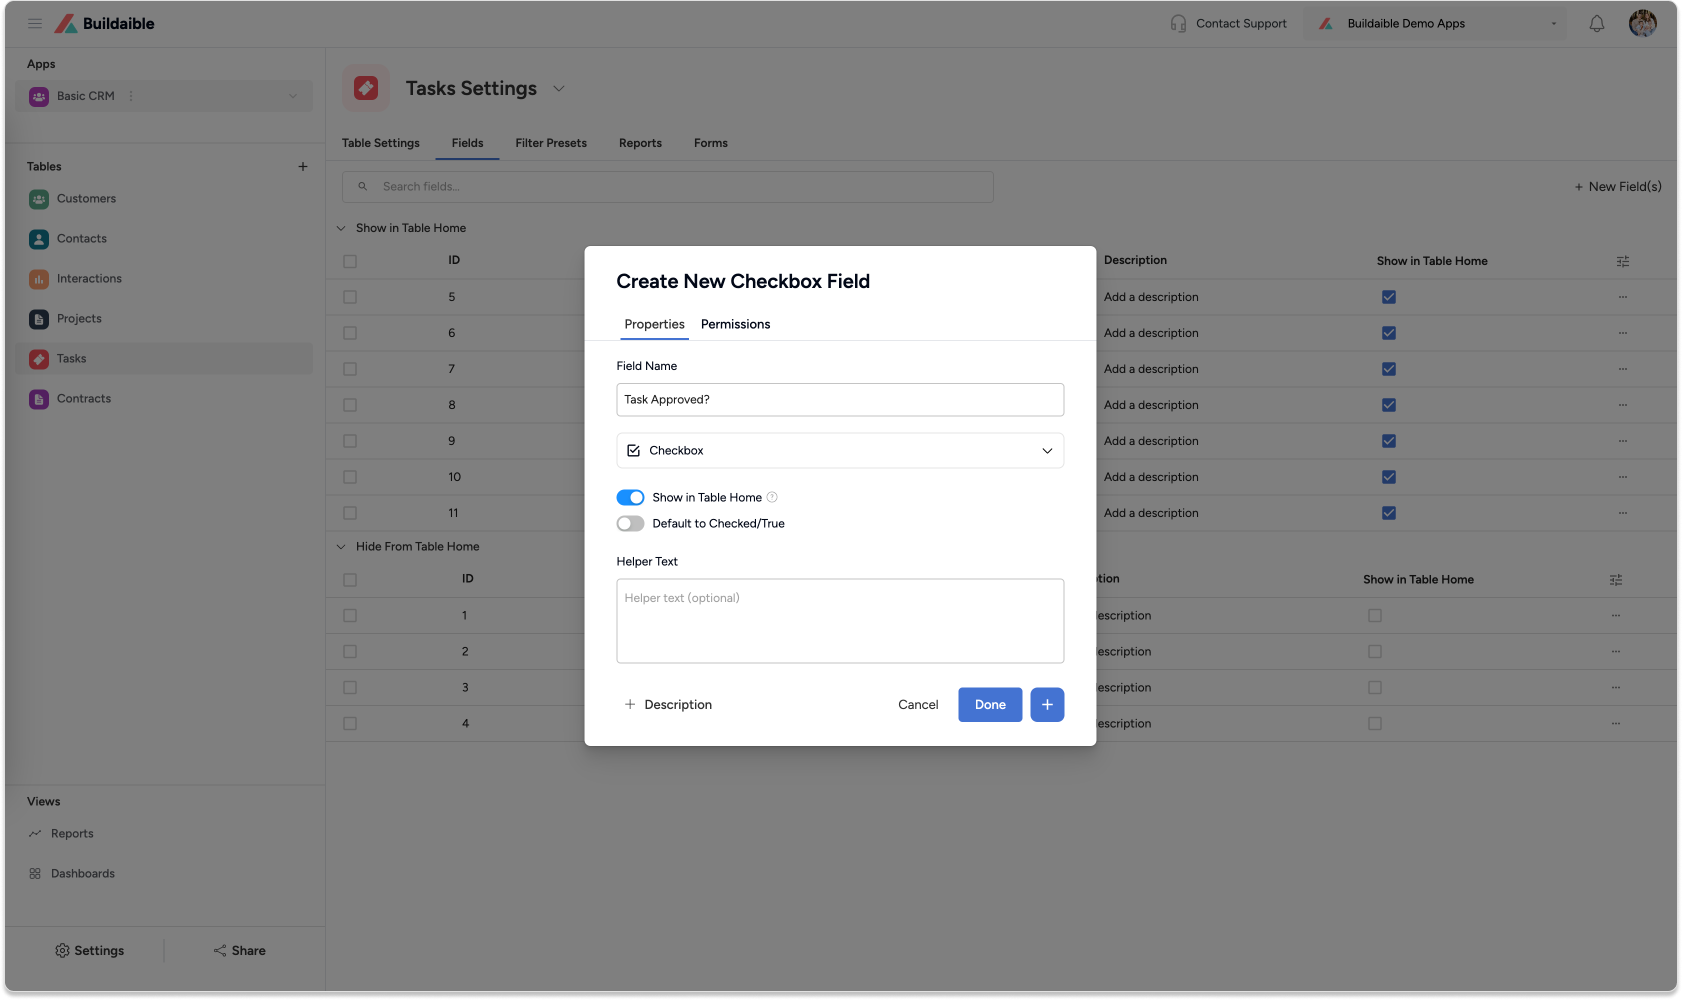
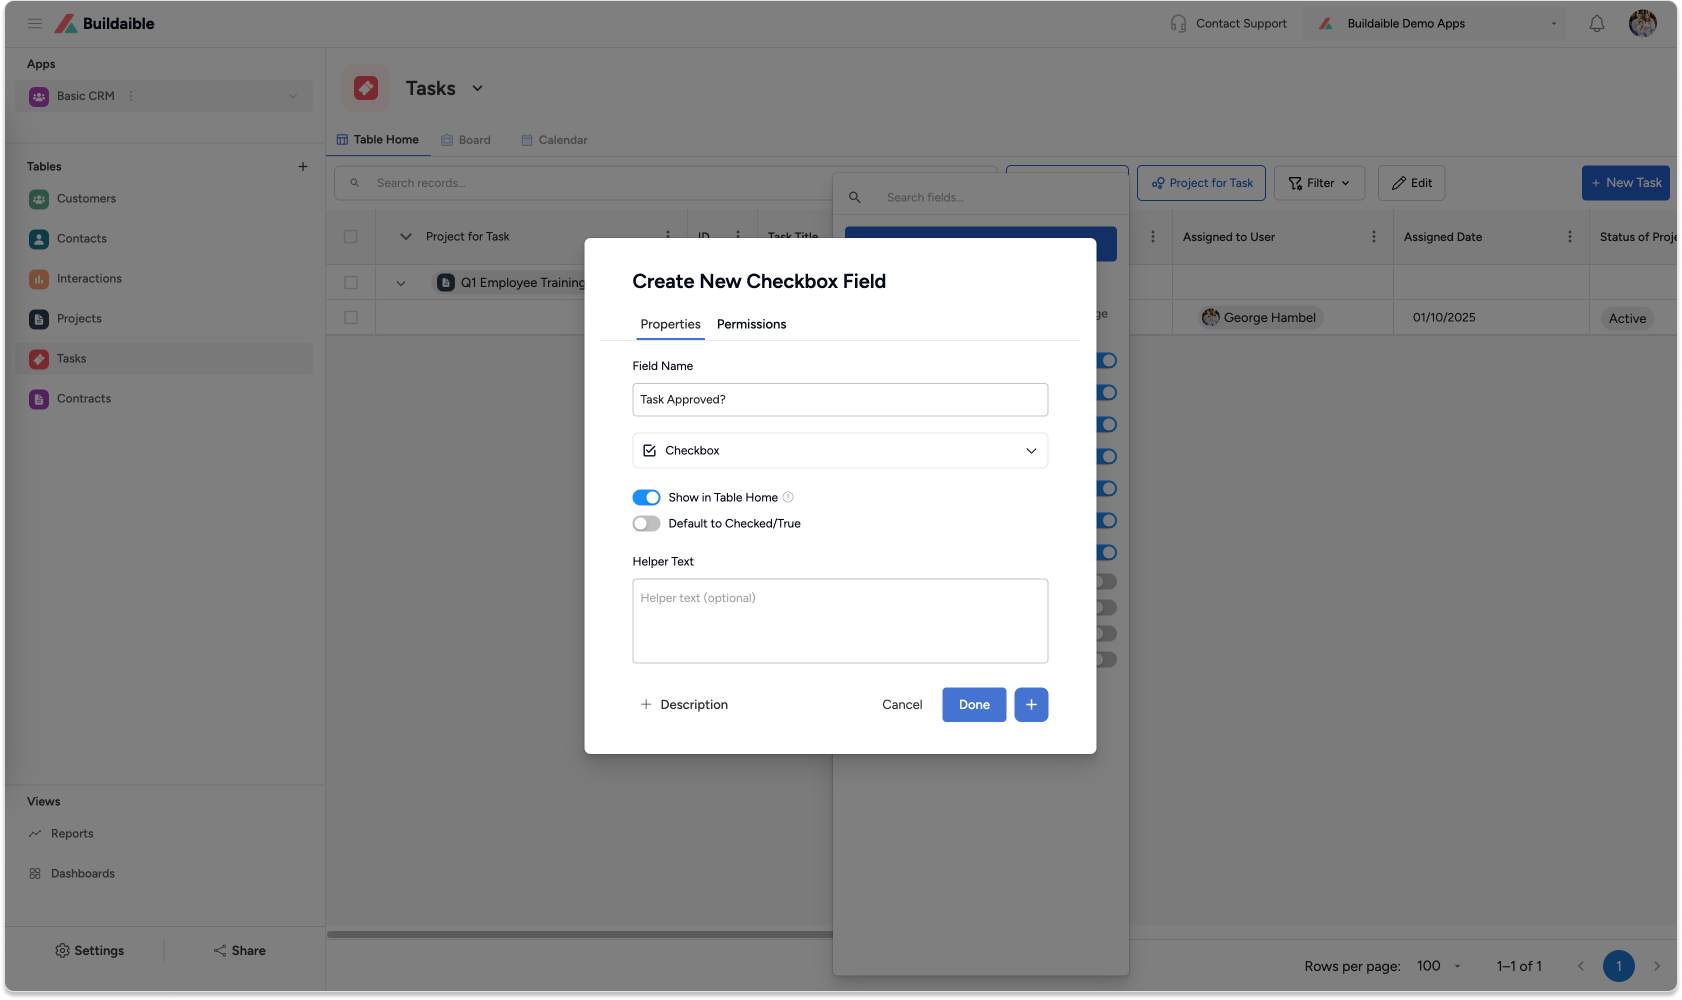
Create the Field:
A modal will appear where you can:
-
Enter a Field Name.
-
Select a Field Type from the dropdown (e.g., Text, Number, Date).
-
Configure any additional settings for the selected field type.
-
Once configured, click Save. The field will be added to your table.
-
Adding Fields via Manage Fields
-
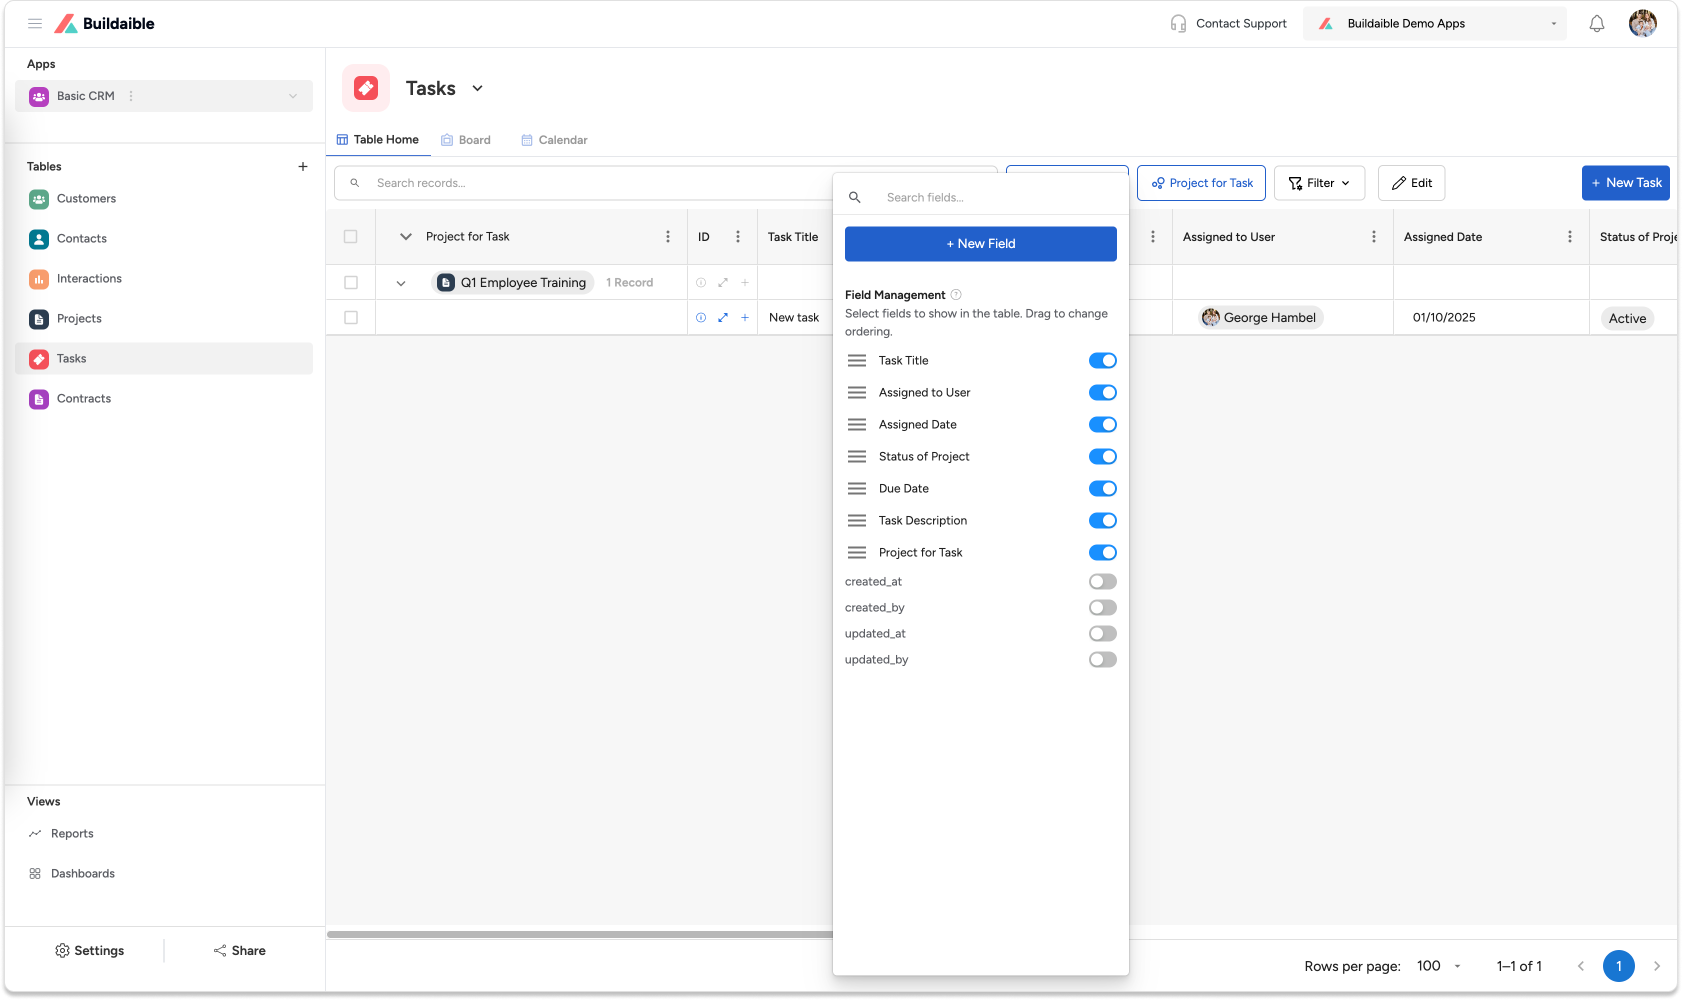
Open Field Management:
-
On the table, click the “Manage Fields” button.
-
-
Add a New Field:
-
In the Manage Fields modal, click the ”+ New Field” button.
-
-
Create the Field:
A modal will appear where you can:
-
Enter a Field Name.
-
Select a Field Type from the dropdown.
-
Configure the settings for that field type.
-
Once configured, click Save. The field will be added to your table.
-
Notes
-
Fields can be added using either method without affecting existing data.
-
Ensure proper field configurations if you’re working with required fields to maintain data integrity.
-
Changes made to field settings can be updated anytime through Table Settings.
Next Steps
-
Learn more about the different field types available in Buildaible.
-
Explore how to create relationships between tables using lookup fields.
-
Discover how fields integrate with forms, reports, and automations for better app functionality.