Link a Record Fields
The Link a Record Field enables you to establish relationships between tables by connecting records. This is essential for creating relational data structures, such as linking a customer to their orders or a project to its tasks. This guide explains how to create, configure, and use the Link a Record Field in your Buildaible app.
Creating a Link a Record Field
There are two ways to create a new Link a Record Field in Buildaible:
Way 1: Adding Fields via Table Settings
-
Access the Table Settings:
On the table, click the down arrow next to the table name, then select “Table Settings” from the dropdown menu. -
Navigate to the Fields Tab:
-
In the Table Settings screen, click the “Fields” tab.
-
Click the “+ New Field(s)” button in the top right.
-
-
Select Link a Record as the field type and configure the settings.
Way 2: Adding Fields via Manage Fields
-
Open Field Management:
-
On the table, click the “Manage Fields” button.
-
-
Add a New Field:
-
In the Manage Fields modal, click the “+ New Field” button.
-
-
Choose Link a Record as the field type, provide a Field Name, and customize the settings.
Understanding the Embedded Table
When you create a Link a Record field to establish a relationship between two tables, Buildaible automatically adds an embedded table to the parent record. This embedded table provides a dynamic view of all the related child records connected to that parent.
How it Works:
-
The embedded table appears on the parent record as soon as the relationship is created.
-
It displays all the child records linked through the Link a Record field.
-
Any updates to the child records are immediately reflected in the embedded table, ensuring real-time data accuracy.
Here’s an example of how the embedded table appears in Buildaible: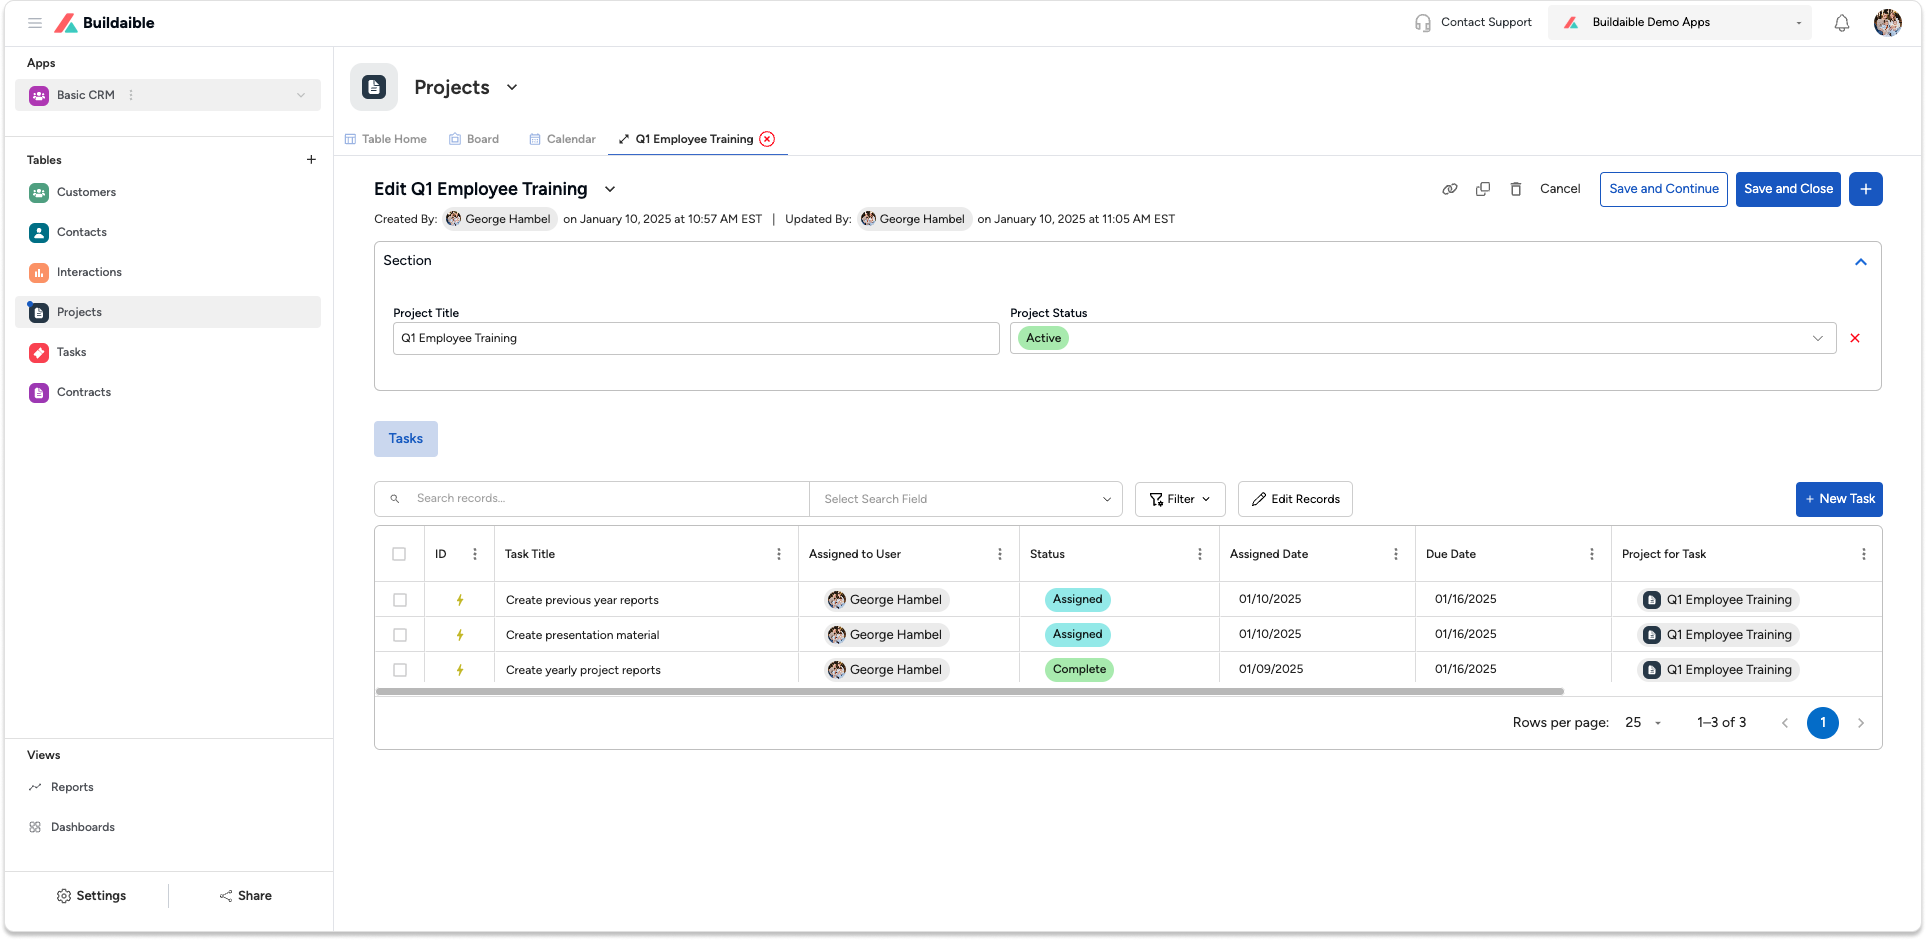
Benefits of the Embedded Table:
-
Visibility: See all related data at a glance without switching between tables.
-
Efficiency: Quickly add, edit, or remove child records directly from the parent record.
-
Collaboration: Team members can easily understand the relationships and dependencies between records.
Settings for Link a Record Fields
When creating or editing a Link a Record Field, you can configure the following options:
-
Show in Table Home: Toggle this option to display the field in the default Table Home view.
-
Field Required: Enable this to make the field mandatory when adding or editing records.
-
Which Table to Link From: Select the table you want to pull values from. This creates the relationship between the two tables.
-
Which Field to Lookup: Choose the specific field in the linked table whose values will populate the dropdown for this field.
-
Helper Text (Optional): Add a short explanation or instruction to guide users when filling out this field.
-
Description (Optional): Click the + Description link to add more context about the field’s purpose and usage for collaborators.
Use Cases for Link a Record Fields
-
Customer Management: Link customers to their orders, invoices, or support tickets for better organization.
-
Project Tracking: Associate projects with tasks, team members, or milestones.
-
Inventory Management: Connect inventory items with their suppliers or purchase orders.
Editing a Link a Record Field
To edit an existing Link a Record Field:
Best Practices
-
Plan Your Relationships: Carefully consider the tables and fields to link for an efficient relational structure.
-
Use Helper Text for Clarity: Provide guidance on what users should select in the dropdown to avoid confusion.
-
Keep Field Names Descriptive: Use meaningful names like “Assigned To” or “Customer Name” to ensure clarity.